 ALaCarte.Direct
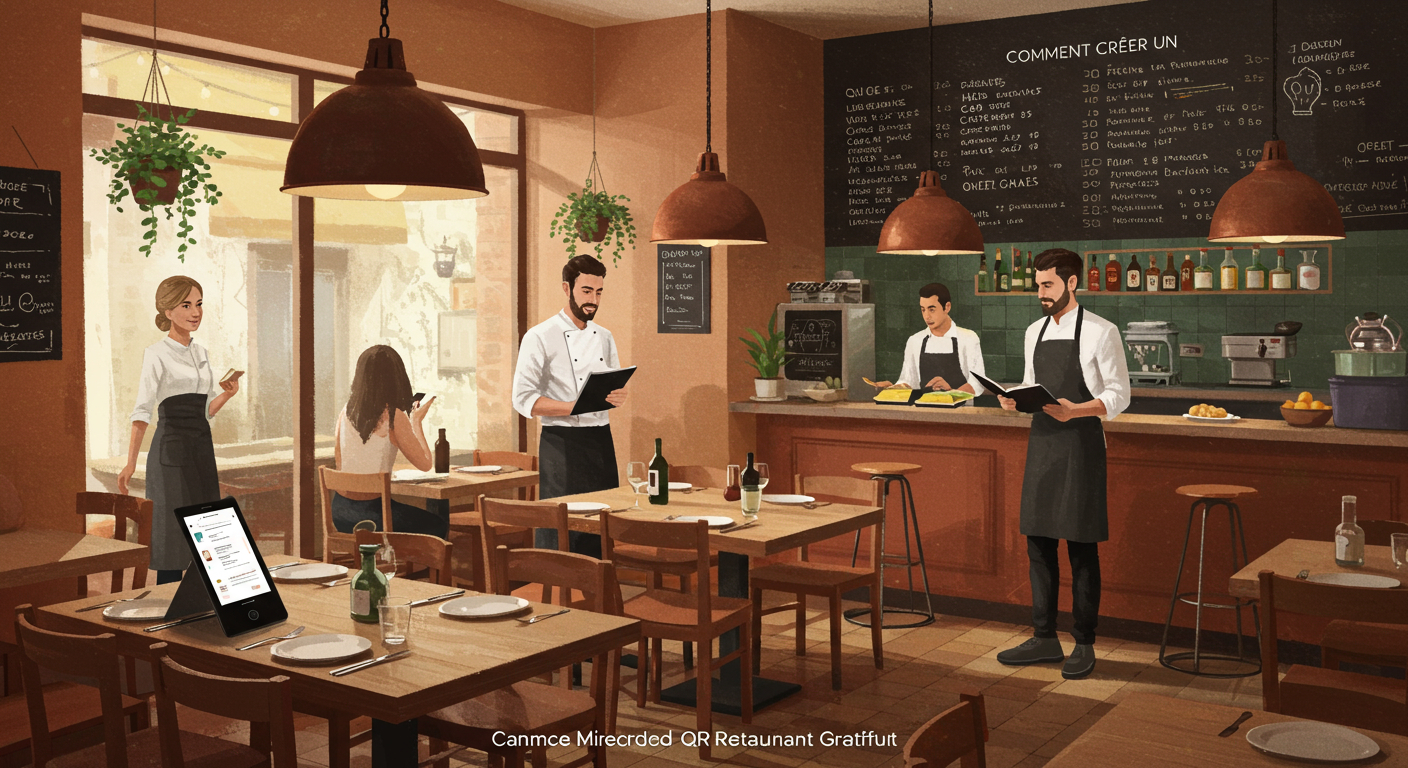
Your menu is printed, laminated, wedged into a faux-leather menu holder. You know it by heart. But your customers find it sticky, hard to read, or out of date — when they're not spending three minutes scanning the room before daring to ask for it. Meanwhile, the restaurant across the street displays a simple QR code on every table. Customers scan, browse, choose. No friction. No waiting. No reprinting every time the daily special changes. The restaurant QR code menu is no longer a post-Covid curiosity — it's become a standard your customers expect, and one you can set up for free, today, with no technical skills. Here's how.
Why the restaurant QR code menu is the norm in 2026
A lasting shift in habits, not a passing trend
Many restaurateurs assumed the QR code would disappear along with pandemic restrictions. The opposite happened. Customers got used to scanning to view a menu. They do it instinctively now, just as they check Google reviews before walking through your door.
This isn't about technology. It's about convenience. Your customers want to access information immediately, on their own screen, at their own pace. They want to zoom in on descriptions, check allergens without asking, and browse the wine list without waiting for someone to bring it over.
For a deeper look at this topic, read our full analysis of the restaurant trends in 2026 that are transforming the industry.
What your customers actually want
Let's be clear: nobody dreams of scanning a QR code. What your customers want is:
- Instant access to the menu — especially on the terrace or when the dining room is packed
- Clear, readable dishes and prices — without squinting at tiny text
- Visible allergen and dietary information — without having to ask the waiter
- The menu in their own language — for tourists, this is a real game-changer
- Access to your menu outside the restaurant — to decide before visiting or recommend it to a friend
A well-designed QR code menu meets all of these needs. A poorly done one — a low-resolution scanned PDF — frustrates every single one.
The tangible benefits for your restaurant
On the restaurateur's side, the advantages are just as real:
- Zero printing costs every time you update the menu. You change your daily special from your phone, and it's live in real time.
- Time saved during service. Your staff no longer hand out, collect, or wipe down physical menus. They focus on advising guests and upselling.
- Fewer mistakes. No more customers ordering a dish that was taken off yesterday because the old menu is still floating around.
- A professional image. A clean, up-to-date, mobile-friendly digital menu signals that you take your business seriously.
- Simplified allergen compliance. You can display all 14 regulated allergens directly on each dish without cluttering your paper menu. Our complete guide to legal allergen requirements details exactly what the law requires.
The different options for creating a free QR code menu
Not all QR code menus are created equal. Before diving in, understand the three main approaches available to you — and their respective limitations.
Option 1: A PDF uploaded online + a generated QR code
This is the quickest method. You take your existing menu as a PDF, upload it online (Google Drive, your website, any hosting service), then generate a QR code that points to that URL.
Advantages:
- Free and doable in 10 minutes
- You keep your existing layout
Disadvantages:
- The mobile experience is often poor. An A4 PDF on a phone screen means constant pinch-to-zoom.
- Every change requires re-uploading the PDF. If you use a fixed link (like Google Drive), it's manageable. Otherwise, you also need to change the QR code.
- No advanced features: no allergen filtering, no translations, no analytics.
- Looks unprofessional if the PDF isn't optimised for mobile.
Verdict: An acceptable stopgap for a week, but not a long-term solution.
Option 2: Free QR code menu generators
Several platforms let you create a structured digital menu — with categories, descriptions, prices — and generate the associated QR code. Free versions exist, but watch out for the limitations.
What free versions typically offer:
- Creation of a basic menu with categories and dishes
- QR code generation
- Menu hosting on the platform
What they often restrict:
- Number of dishes or categories
- Visual customisation (logo, colours, fonts)
- Advanced features (photos, allergens, translations)
- Third-party adverts displayed on your menu
- Technical support
Verdict: Fine for getting started if you accept the limits. Read the terms before committing — some "free" plans become paid after a trial period.
Option 3: A SaaS platform built for restaurateurs
This is the most comprehensive approach. Tools like ALaCarte.direct are designed specifically for independent restaurateurs and offer a complete digital menu with an integrated QR code, no technical skills required.
Advantages:
- Responsive menu, natively optimised for mobile
- Built-in allergen management, compliant with regulations
- Real-time updates from any device
- Automatic translations for international guests
- No third-party adverts
- Onboarding support and assistance
To consider:
- Some advanced features may be paid
- You depend on an external provider
Verdict: The most professional and sustainable solution, especially if you want a coherent digital presence.
To learn more about digitalisation tailored to small venues, read our complete guide to simple digitalisation for small restaurants.
Creating your digital restaurant menu: the step-by-step guide
Let's get practical. Here are the concrete steps to set up your QR code menu, whichever option you choose.
Step 1: Prepare your menu content
Before touching any tool, prepare your content. This is the step everyone rushes through — and it's the one that makes the difference between a useful digital menu and a mediocre one.
Structure your categories clearly:
- Starters, mains, desserts — obviously
- But also think about: daily specials, lunch deals, children's menu, wine list, hot drinks, cocktails
- Separate what changes often (daily special, suggestions) from what stays stable (main menu)
For each dish, prepare:
- Exact name
- Short description (2 lines max) — key ingredients, cooking method, accompaniments
- Price including tax
- Allergens present (the 14 regulated allergens)
- Optionally: labels (homemade, organic, locally sourced), icons (vegetarian, vegan, gluten-free)
Practical tip: Use a simple spreadsheet to list everything before moving to your chosen tool. Columns: Category | Name | Description | Price | Allergens. This groundwork will save you a considerable amount of time during data entry.
Step 2: Choose your tool and create the menu
Once your content is ready, creating the digital menu is usually quick.
If you're going with a PDF:
- Design your menu using any software you like (Canva, Word, Google Docs)
- Export as PDF
- Host the file on Google Drive (with public sharing enabled) or on your website
- Copy the file URL
If you're using a dedicated platform:
- Create your account
- Enter your restaurant details (name, address, opening hours)
- Add your categories and dishes from your spreadsheet
- Customise the appearance (logo, your restaurant's colours)
- Enable the features you want (allergens, translations, photos)
- Preview the result on mobile — this is essential
Step 3: Generate and customise your QR code
The QR code itself is an element you shouldn't overlook. A basic black-and-white square works, but you can do better.
Best practices for your QR code:
- Minimum size of 3 cm × 3 cm (roughly 1.2 in × 1.2 in). Any smaller and some phones will struggle to scan it.
- Strong contrast. Black on white remains the most reliable. Light QR codes on dark backgrounds cause scanning issues.
- Add a clear call to action: "Scan to view our menu" or "Our menu". Don't assume everyone knows what a QR code is — some older guests will appreciate the prompt.
- Test with at least 3 different phones before printing. A recent iPhone, a mid-range Android, and if possible an older handset.
- Use a dynamic QR code if your tool offers one. The advantage: you can change the destination URL without reprinting the QR code. This is a huge benefit if you switch tools or platforms later.
Step 4: Print and install the displays
The QR code is ready. Now it's time to deploy it in your venue professionally.
Where to place your QR codes:
- On every table — this is the bare minimum. Table tents, stickers on the table, inserts in bill holders.
- At the entrance — so customers waiting to be seated can already browse the menu.
- In the window — passers-by can scan and discover your menu before stepping inside. This is an underrated way to convert foot traffic.
- On your takeaway packaging — bags, boxes, flyers. The customer leaves with your menu accessible at any time.
Physical display options to consider:
- Table tents: the most common. Laminated or under acrylic to withstand daily wear.
- Durable stickers: stuck directly onto the table. Discreet, robust, inexpensive.
- Custom coasters: original and practical.
- Window decals: visible from the street.
Printing budget: Expect to spend between £15 and £50 (roughly $20–$60) to kit out a restaurant with 20 to 40 covers with laminated table tents. It's a one-off investment — unlike paper menus that you reprint several times a year.
Mistakes to avoid with your QR code menu
Many restaurateurs jump in enthusiastically then make mistakes that ruin the customer experience. Here are the most common ones — and how to avoid them.
Mistake #1: An unreadable PDF on mobile
This is the number one mistake. You scan a QR code and land on an A4 PDF displayed in miniature on your phone. You have to zoom, scroll sideways, squint. The customer puts their phone down and asks for a paper menu. You've wasted your time.
The fix: Use a natively responsive format — one designed to adapt to the screen size. That's what all dedicated platforms offer. If you insist on a PDF, at the very least create a mobile-friendly version (narrow and vertical).
Mistake #2: A menu that's never updated
Your daily special changes every day, but your digital menu is still showing last Tuesday's beef stew. Worse: a customer orders a dish you no longer serve, and the waiter has to break the news that "it's no longer available".
The fix: Choose a tool that allows instant updates, ideally from your phone. Updating your menu should take less than 2 minutes — otherwise, you won't bother.
Mistake #3: Scrapping the physical menu entirely
A QR code menu doesn't replace a physical menu for all your customers. Some people — by choice, habit, or difficulty with technology — prefer a paper copy. Visually impaired guests may also find it challenging.
The fix: Keep a few physical menus available on request. The QR code is the primary channel, not the only one. Accessibility is not optional.
Mistake #4: A QR code that's poorly placed or unreadable
QR code printed too small, tucked behind the salt and pepper, placed somewhere with no light, or covered by the tablecloth. Result: nobody scans it.
The fix: Place the QR code somewhere visible and accessible as soon as the guest sits down. Check in real conditions — including in dim lighting during evening service.
Mistake #5: Ignoring load times
Your digital menu takes 8 seconds to load? You've lost half your customers. A menu with unoptimised high-resolution photos, hosted on a slow server, is worse than no menu at all.
The fix: Test load times on a mobile data connection (not Wi-Fi). Optimise images. Choose platforms that handle this automatically.
Optimising your QR code menu to drive sales
A digital menu isn't just an online version of your card. Designed thoughtfully, it's a sales tool that can influence your customers' choices and increase your average spend per head.
Crafting compelling dish descriptions
On screen, every word carries more weight. Your descriptions need to entice in a matter of seconds.
What works:
- Mention the origin of ingredients: "Scottish Label Rouge salmon" rather than "Salmon"
- Specify the cooking method: "Slow-roasted in the oven" rather than "Oven-baked"
- Evoke the season: "Spring vegetables from our local grower" rather than "Seasonal vegetables"
- Name the producer when it's relevant: "Goat's cheese from Greenfield Farm, 8 miles away"
What doesn't work:
- Three-line descriptions that nobody will read
- Pretentious wording ("an airy emulsion of...")
- Copy-pasted descriptions from one dish to another
Structuring to guide the choice
The order of dishes on your digital menu matters more than you think. Research in menu psychology (menu engineering) shows that customers read the beginning and end of each category first.
Structuring tips:
- Place your highest-margin dishes in the first and last positions of each category
- Highlight your recommendations with a visual label ("Chef's favourite", "New")
- Feature your set menus at the top — they simplify the choice and speed up ordering
- Don't exceed 7–8 dishes per category. Beyond that, choice becomes paralysing. If you have a very large menu, reducing your costs by streamlining your menu could also be the opportunity to rationalise it.
Using photos sparingly and with quality
Food photos on a digital menu are a divisive topic. Here's the simple rule:
- Beautiful, professional photos: yes, they boost desire and sales
- Poor-quality snaps taken on a phone under strip lighting: no, they drive people away
If you don't have quality photos, don't use any. A well-written text-only menu is more appetising than one illustrated with blurry pictures.
If you do invest in photos, a few best practices:
- Natural light wherever possible
- Neutral background (a table, a wooden board)
- Tight framing on the dish, not a photo taken from two metres away
- Files optimised for the web (under 200 KB per image)
QR code menu and compliance: what the law says
Mandatory price display
Regulations require prices to be displayed both inside and outside the restaurant. A QR code menu accessible inside the premises fulfils this obligation, provided the customer can access it easily and free of charge — meaning without downloading an app and without signing up.
However, the external display of prices (the menu visible from the street) must still be in physical form. Your window QR code does not replace the price board displayed outside.
Allergens
Under the EU Food Information for Consumers regulation (No. 1169/2011), information on the 14 allergens must be accessible to the customer. A digital menu is an excellent medium for this: you can display allergens directly on each dish, with clear icons, without cluttering the layout.
This is actually an advantage of digital over paper: you can offer a filter that hides dishes containing a given allergen. A customer with a tree nut allergy can instantly see what they can safely order.
Digital accessibility
This point is often overlooked. Your digital menu must be accessible to as many people as possible. In practice:
- Text that is large enough and well contrasted
- Simple navigation, without complex JavaScript that blocks certain screen readers
- A physical menu available as an alternative
Measuring the impact of your QR code menu
You've set up your QR code menu. How do you know if it's working?
Key metrics to track
- Number of scans per day / per week. This is the baseline metric. It tells you the adoption rate among your customers.
- Most viewed pages. If everyone's looking at the dessert menu, that's a good sign — and a signal to feature your highest-margin items there.
- Time spent on the menu. Very short sessions could mean the menu is easy to read (good) or that customers give up quickly (not so good). Cross-reference with on-the-ground feedback.
- Off-hours scans — evenings for a lunch-only restaurant, weekends. These are prospects browsing your menu before deciding to visit.
Collecting customer feedback
The best indicator remains direct feedback from your customers and your front-of-house team. Ask simply: "Did you find the menu easily?" Recurring comments will point you in the right direction.
Your servers are your best sensors: they see who scans, who asks for a paper menu, and who struggles. Have a debrief with them after the first two weeks.
Going further: the QR code menu as a digital hub
Your QR code menu is in place and adopted by your customers. Now is the time to make it more than just a browsable menu.
Linking your menu to your online presence
Your digital menu can become the gateway to your entire online presence:
- Links to your social media so customers can follow you
- Link to your Google Business profile to encourage reviews — on that note, our guide on how to get 100 Google reviews for your restaurant will give you practical methods
- Link to your online booking system
- Access to your gift cards — an often-overlooked revenue stream that we cover in detail in our complete guide to restaurant gift cards
Updating your menu in real time
One of the biggest advantages of going digital is responsiveness. Make the most of it:
- Dish sold out mid-service? Hide it with one tap from your phone. No more "Sorry, we've run out".
- New chef's suggestion? Add it in 30 seconds with a photo.
- Happy hour or flash offer? Activate a temporary banner on your menu.
- Special event menu (Valentine's Day, New Year's Eve, Mother's Day)? Create a dedicated version without touching your main menu.
Analysing data to optimise your menu
The browsing data from your digital menu is a goldmine for refining your offering. If a dish is frequently viewed but rarely ordered, it could be a pricing or description issue. If an entire category is being ignored, ask yourself whether it's well positioned or whether it still matches your clientele.
This kind of analysis, even at a basic level, puts you on par with what large chains do with hefty budgets — except you're doing it for free with data from your own digital menu.
Conclusion: take action today
Creating a restaurant QR code menu is neither complicated nor expensive. It's an investment of a few hours that will simplify your daily operations, improve your customers' experience, and give you the tools to manage your menu more effectively.
Here's your concrete action plan for this week:
- Today — List all your dishes in a spreadsheet with descriptions, prices, and allergens
- Tomorrow — Choose your tool (temporary PDF or dedicated platform) and create your digital menu
- Day 3 — Generate your QR code and test it on 3 different phones
- Day 4 — Print your displays (table tents, stickers) and set them up in your dining room
- Day 5 — Brief your team: where the QR code is, how it works, where the backup paper menus are
- End of the week — Observe, gather feedback, adjust
A digital menu isn't an end in itself. It's the first link in a coherent online presence that makes you visible, accessible, and professional. And in a market where customers decide in a matter of seconds whether to walk in or keep going, every detail counts.
Don't aim for perfection at launch. Aim to go live. You'll improve afterwards, dish by dish, feedback by feedback. The most important thing is to start.