Friday evening, 7:30 PM. Your dining room is filling up, two servers are on the floor, and a customer asks for a menu — the last clean one just went out to the terrace with a sauce stain on it. Sound familiar? Setting up a QR code menu solves this problem for good. But between the idea and the execution, many restaurateurs get stuck on the practical details: which display to choose, where to place it, how to brief the team, and what to do with reluctant customers.
This guide walks you through every step, from preparing your digital menu to the moment your last customer of the evening scans without hesitation.
Why setting up a QR code menu deserves a proper method
Sticking a QR code on a table isn't enough. Many independent restaurateurs tried it during the pandemic by improvising: a code printed on an A4 sheet slipped under a Perspex screen. The result? Codes that were unreadable within two weeks, confused customers who didn't know what to do, and a swift return to paper menus.
The difference between a failed rollout and a successful one rarely comes down to the technology. It comes down to the method. A well-implemented QR code menu becomes a daily working tool that streamlines service, cuts your printing costs and gives you complete flexibility over your menu.
But only if you tackle each step in the right order.
Step 1: Prepare your digital menu before generating a single QR code
Before thinking about the physical display, start with the content. Your digital menu is the first thing a customer will see after scanning. If they land on a confusing, slow or poorly organised page, you've already lost them.
Structure your sections clearly
Take your current menu structure and ask yourself whether it works on a smartphone screen. The rules are different from print:
- Limit the navigation depth. The customer should be able to reach any dish in two taps at most — category, then dish.
- Name your categories clearly. "The Chef's Creations" looks lovely on a printed menu, but "Main Courses" or "Today's Specials" will be far more effective on mobile.
- Arrange categories in the natural ordering sequence: starters, mains, desserts, drinks. Avoid unusual structures that disorient customers.
- Clearly separate lunch set menus from the evening à la carte if both are available. A customer scanning your QR code at 12:15 doesn't want to scroll through your evening tasting menu.
For a deeper dive into visual structuring principles, see our article on digital menu design best practices.
Write descriptions that make mouths water
On a screen, each dish description plays an even bigger role than it does on paper. The customer doesn't have the ambiance of your dining room or a server beside them to describe the dish. A few principles:
- One to two lines maximum per dish. Get to the point: key ingredients, cooking method, provenance if it's a selling point (locally sourced, catch of the day).
- Use concrete sensory words. "Crispy", "melt-in-the-mouth", "smoked" work far better than "delicious" or "tasty", which say nothing at all.
- Display allergens clearly. It's a legal requirement, but it's also a service that customers genuinely appreciate. Digital makes allergen management vastly easier — you can filter by allergen and update instantly. For a full overview of your obligations, refer to our complete guide to restaurant allergen compliance.
Adding photos — or not
This question comes up every time. Should you photograph every dish? The answer depends on your positioning:
- Fast casual, street food, world cuisine: photos help the customer visualise what they're ordering, especially if they're discovering unfamiliar dishes. They reduce the number of questions on the floor.
- Bistronomy, fine dining: restraint often works better. A mediocre photo undermines your image. If you don't have professional photography, it's better to leave it out and let the description do the heavy lifting.
In all cases, if you do add photos, make sure they're optimised for mobile: lightweight file sizes, well-framed in portrait or square format.
Step 2: Generate and configure your QR code
Once your digital menu is ready and proofread, you can move on to generating the QR code itself.
Choosing between a static and a dynamic QR code
This is a technical choice with major practical consequences:
- Static QR code: the URL is hardcoded into the code. If you change your web address, you'll need to reprint every single display. Free, but inflexible.
- Dynamic QR code: the code points to a redirect URL that you can update at any time. Switching menu platforms? Just update the redirect without touching your physical displays. This is the recommended option for restaurants.
If you use a platform like ALaCarte.direct, the dynamic QR code is built in: your menu is hosted on a stable URL, and you update the content in real time without ever reprinting.
For a detailed comparison of the available options, including free solutions, see our guide on how to create a free restaurant QR code menu.
Customising the QR code's appearance
A basic black-and-white QR code works technically, but you can improve it:
- Add your logo in the centre. Most generators allow this. It reassures the customer that the code is legitimate (no phishing concerns).
- Match the colours to your brand identity. But be careful: maintain strong contrast between the code and the background. A light grey QR code on a white background simply won't scan.
- Keep a white margin (quiet zone) around the code. This border is what allows the scanner to detect the code. Without it, scans frequently fail.
Test thoroughly before printing
This is the step everyone forgets — and the one that prevents disasters on launch day:
- Scan with at least three different smartphones (a recent iPhone, a mid-range Android, and an older handset).
- Test at the final print size, not on your computer screen.
- Test under lighting conditions similar to your dining room: dim lighting in the evening, sun glare on the terrace.
- Check that the landing page loads in under three seconds on a standard 4G connection.
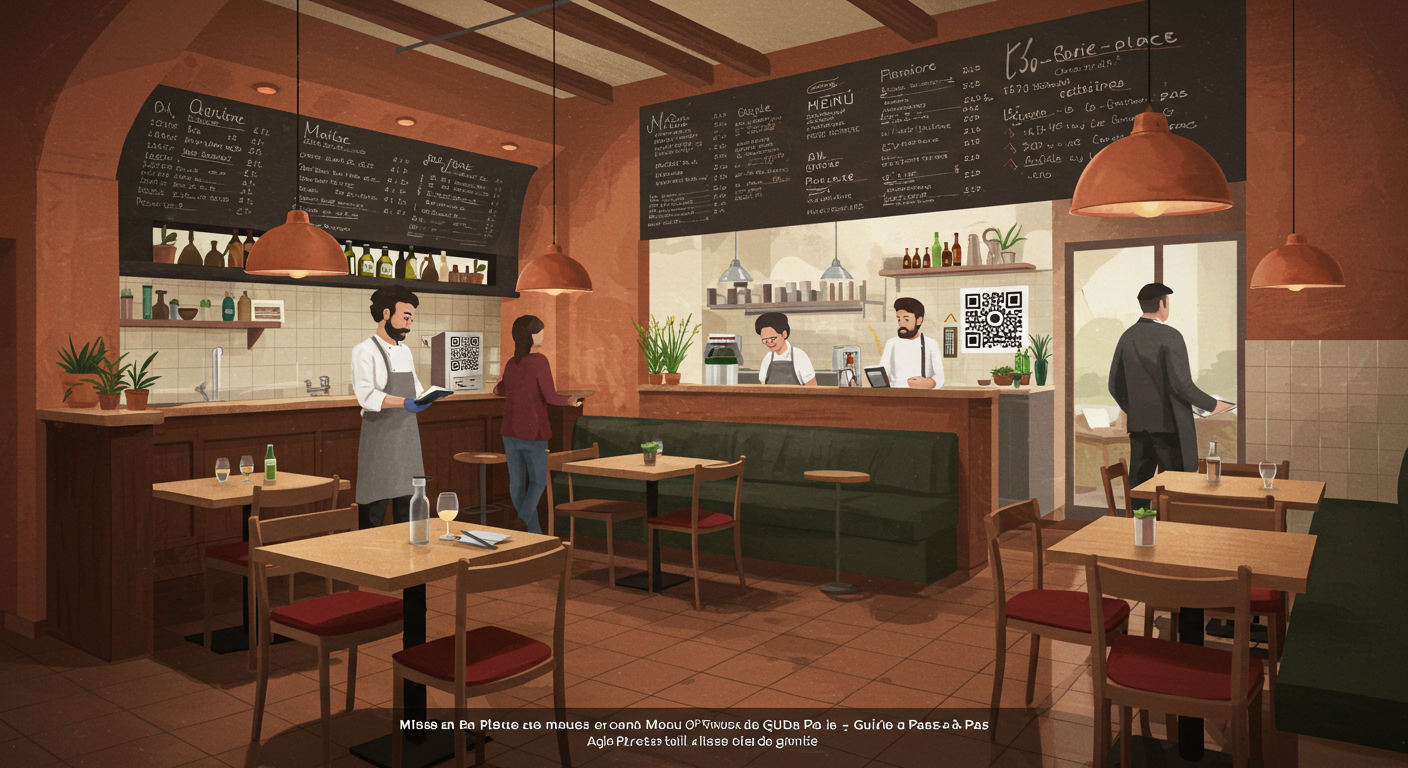
Step 3: Choose and install physical displays
The display you use to present your QR code directly influences the scan rate. A peeling sticker on the corner of a table doesn't send the same message as an elegant table tent that matches your décor.
The different types of displays
Here are the most common options, with their advantages and limitations:
- Table tents (tent cards): visible without any effort — the customer sees them as soon as they sit down. Choose a rigid material (PVC, acrylic) rather than cardboard, which warps at the first water spill. Expect to pay between £2 and £7 each, depending on quality.
- Table stickers: discreet, take up no space, easy to wipe clean. Ideal for small bistro tables. Downside: they wear out and peel off. Keep a replacement stock on hand.
- Medallions or screwed/glued plaques: the most durable solution. Brushed aluminium, engraved wood, resin — the choice depends on your restaurant's style. Higher investment (£4 to £12 each), but they last for years.
- Insert in the bill holder: a clever option for restaurants that keep a bill holder on the table. The QR code sits inside, visible when the customer opens it.
- Wall or window display: useful as a complement for passers-by who want to browse your menu before coming in. Place a large-format QR code (at least 10 cm per side) on your window or next to your menu board outside.
Where to place the QR code on the table
The exact placement matters more than you might think:
- Centre of the table: visible to all diners, but can get in the way of service if the tent card is bulky.
- To the side, near the edge: less intrusive, but one in two diners may not notice it.
- Built into the placemat: a good option if you use placemats. The customer discovers it naturally as they settle in.
The golden rule: the QR code should be visible without the customer having to look for it, but it shouldn't clutter the table or interfere with the place setting.
Don't forget the terrace and outdoor areas
Outdoors, the constraints change:
- Brightness: direct sunlight creates glare on glossy surfaces (acrylic, lacquered plastic). Go for matte finishes instead.
- Weather: rain, wind, humidity. Cardboard tent cards won't survive. Choose waterproof displays or laminated stickers.
- Theft: tent cards on the terrace have a habit of disappearing. Glued stickers or screwed-in plaques solve the problem.
Step 4: Train your team on the new system
This is where many rollouts fall apart. The QR code is in place, the digital menu is flawless, but the front-of-house team isn't comfortable — and it shows immediately in the customer experience.
The essential team briefing
Before launch, gather your team for a 15- to 20-minute briefing. Cover these points:
- Live demonstration. Every team member scans the QR code, navigates the menu, finds where the allergens are listed, the set menus, the specials. A server who has never opened the digital menu won't be able to guide a customer through it.
- The welcome script. Agree on a simple phrase the server says when seating a customer: "You'll find our menu by scanning the QR code on the table. If you'd prefer a paper menu, I'll be happy to bring you one." It's direct, inclusive, and pressure-free.
- Frequently asked questions. Prepare answers to the classic objections:
- "I don't have a smartphone." → Backup paper menu ready to go.
- "It's not working." → The server checks that the camera is open (no dedicated app needed on modern smartphones) and that Wi-Fi or mobile data is connected.
- "I don't like it." → Paper menu, no questions asked. Never push.
Keep paper menus in reserve
This point is critical: setting up a QR code menu does not mean eliminating paper entirely. Always keep a stock of printed menus for:
- Customers who don't have a smartphone or whose battery has died.
- Older guests who aren't comfortable with technology.
- Network or Wi-Fi outages.
A detailed cost analysis between the two formats will help you calibrate the right ratio. Our article on paper menu vs digital menu gives you the figures to make that call.
The realistic goal isn't 100% digital. It's 80 to 90% of tables using the QR code, which already cuts your printing costs and workload significantly whenever the menu changes.
Step 5: Launch, observe, adjust
Launch day isn't the finish line — it's the start of an improvement cycle.
The first week: observe without rushing to fix
During the first five to seven days, ask your servers to note:
- The approximate scan rate. How many tables scan spontaneously vs how many ask for a paper menu? You don't need exact figures — a rough estimate per service is enough.
- Friction points. Is the QR code easy to spot? Do customers take a while to figure out how it works? Are there any loading issues?
- Unsolicited feedback. Are customers commenting positively? Negatively? What words keep coming up?
Common adjustments after launch
Here are the most frequent corrections in the first few weeks:
- Reposition the QR code. If customers aren't seeing it, it's a placement problem, not a technology one. Try a different spot on the table.
- Enlarge the QR code. A code that's too small (under 3 cm per side) is hard to scan, especially in low light. Go for 4–5 cm minimum.
- Simplify the menu navigation. If customers are frequently asking "where are the desserts?" or "how do I go back?", your menu structure is too complex.
- Improve the Wi-Fi. If your connection is unstable, the menu takes too long to load and customers give up. Check your bandwidth, especially during peak hours. A dedicated guest Wi-Fi network with decent throughput is an investment that pays off well beyond the digital menu.
Measure the impact on your business
After a month of use, take stock:
- Printing savings. How much were you spending each month on paper menus (printing, laminating, replacing)? Compare it with your current outlay.
- Time saved on menu changes. Previously, changing a dish or a price meant a reprint. Now it's an online update that takes effect in minutes.
- Smoother service. Are your servers spending less time handing out and collecting menus? Can they focus more on advising customers and upselling?
These operational gains are part of a broader approach to cutting restaurant costs without compromising the quality of the experience.
Mistakes to avoid when setting up a QR code menu
The experience of restaurateurs who have been using QR codes for several years reveals recurring pitfalls.
Forcing 100% digital overnight
Removing every paper menu on day one is the surest way to alienate part of your clientele. The transition should be gradual. Start by offering the QR code as the primary option, keep paper as a backup, then reduce your stock of physical menus as adoption grows.
Neglecting menu updates
A digital menu with prices that are three months out of date or still showing yesterday's "daily special" does more damage than a worn-out paper menu. The whole point of digital is instant updates — but you actually have to use that capability. Assign someone responsible (usually the manager or the head chef) and build the menu update into your daily routine, just like setting up the dining room.
Using a QR code that links to a PDF
This is unfortunately still common. A scanned PDF of your menu uploaded online is not a digital menu. It's a heavy file that's unreadable on mobile without zooming, and impossible to update without regenerating the entire document. Invest in a proper responsive digital menu solution, designed for mobile viewing.
Forgetting about accessibility
Think about visually impaired customers: does your digital menu meet minimum contrast standards? Is the font size large enough? Are the buttons big enough to tap easily? A well-designed digital menu is actually more accessible than a paper menu with small print in a dimly lit room.
Overlooking the marketing opportunity
Your QR code is a digital touchpoint with your customer. It's an opportunity that many restaurateurs underuse. A few practical ideas:
- Add a link to your Google Business page at the end of the menu to encourage reviews. Our article on getting more Google reviews for your restaurant covers this strategy in detail.
- Offer a newsletter sign-up to keep customers informed about events and special menus.
- Highlight your set menus and recommendations at the top of the digital menu, where attention is at its peak — this is menu engineering applied to the digital format.
Summary checklist: your setup in 10 points
Before you get started, make sure every box is ticked:
- Digital menu structured, proofread and tested on mobile
- Concise dish descriptions with allergens clearly indicated
- Dynamic QR code generated and customised to match your brand
- QR code tested on at least three different smartphones
- Physical displays ordered and suited to your environment (indoors + terrace)
- QR codes placed visibly on every table
- Team briefed: welcome script, objection handling, live demonstration completed
- Backup stock of paper menus available
- Person responsible for menu updates assigned
- Date for first review set (Day 30)
Take action this week
Setting up a QR code menu isn't a six-month project. It's something you can complete in a single week if you follow these steps in order.
Day 1–2: prepare and structure your digital menu. Reread every description, verify prices, add any missing allergens.
Day 3: generate your QR code, customise it, test it on multiple devices.
Day 4: order your physical displays (or print a provisional version to get started straight away).
Day 5: brief your team. 20 minutes is all it takes. Have them scan the code, navigate the menu, and practise handling common objections.
Day 6–7: go live. Observe, note any friction points, adjust the placement if needed.
In 30 days, you'll have concrete data on customer adoption, the savings you've made, and what still needs fine-tuning. And you'll wonder why you didn't do it sooner.